
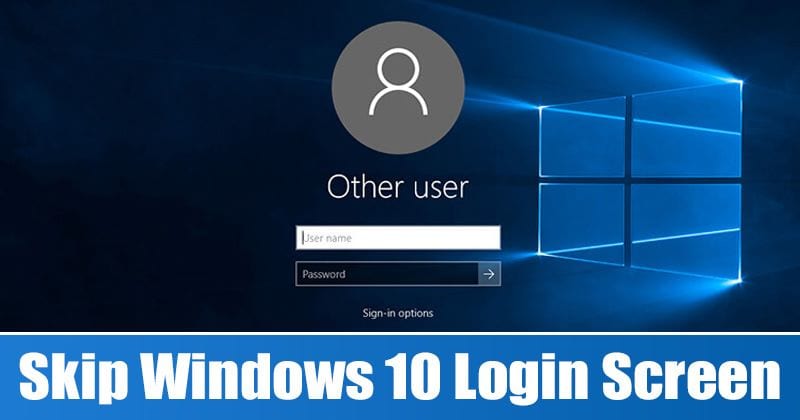
This Article is All About How to Skip Login Screen on Windows 10 PC. Read Detail To Know More.
It’s very common for computers to have a login screen these days, whether you’re using a Mac or a Windows PC. However, the login screen can be annoying because it means you have to take an extra step before you can use your computer.
Obviously having a security system like a login screen is great and useful and highly recommended if you use a computer in public, use a shared computer at an office or school, or have multiple people using your computer. being done But what if you’re the one using it?
Local Account vs Microsoft
That being said, before proceeding, remember that you must first identify the connection your computer is using. There are two types of logins in Windows: local account and Microsoft account.
A local account is basically an administrator account for your computer. In a way, you can consider it more secure because this password only works for the computer you are using and nowhere else. Your settings are also kept private as they are stored locally on the computer and do not even require an internet account to connect to your computer.
A Microsoft account is basically like a universal account. If you have other Microsoft products like Office 365, Hotmail, Outlook, etc., this will be the account you use to log in to your computer. The upside is that it syncs your account details across multiple services, but the downside is that, in theory, if your Microsoft account is hacked, a hacker can technically log into your computer as well.
Disable local account login Windows 10
Method 1
- Press Windows key + R
- Type netplwiz
- Select the user account for which you want to disable the login screen
- Uncheck “Users must enter a username and password to use this computer”.
- Enter the username and password associated with the computer and click OK. If you never set a password to start with, click OK anyway.
Method 2
- Go to settings
- Select Accounts
- Click on Login Options
- Select “Never” under “Login required”.
Disable Windows 10 Microsoft account sign-in
To prevent your computer from asking you to sign in to your Microsoft account, you must first change your Microsoft account to a local account.
- Click Start > Settings > Accounts
- Select your email and accounts from the left pane
- Click “Sign in with a local account instead” to launch the setup wizard
- First, enter your Microsoft account credentials for verification purposes
- Click Next
- Choose a username and password and click Next
- Check the information and if you are satisfied, click “Sign Out and Finish”.
- Follow the instructions in the “Disable Windows 10 local account login” section above to disable the Windows 10 login screen.
How do I start startup without password?
At the Open field in the Run box, type netplwiz. The tool for netplwiz, also known as the User Accounts Control Panel, will appear. Select the account you wish to use to log in automatically. Uncheck the box above that says Users must enter a user name and password to use this computer.
Conclusion
We’ve brought you your favorite games, Exam, and review. On this website (Examviews) we always share high-quality apps and game reviews. You can review and comment on additional apps and game details for free from this page.
If you liked this article, please leave a comment in the comments section.